Final Product What You'll Be Creating
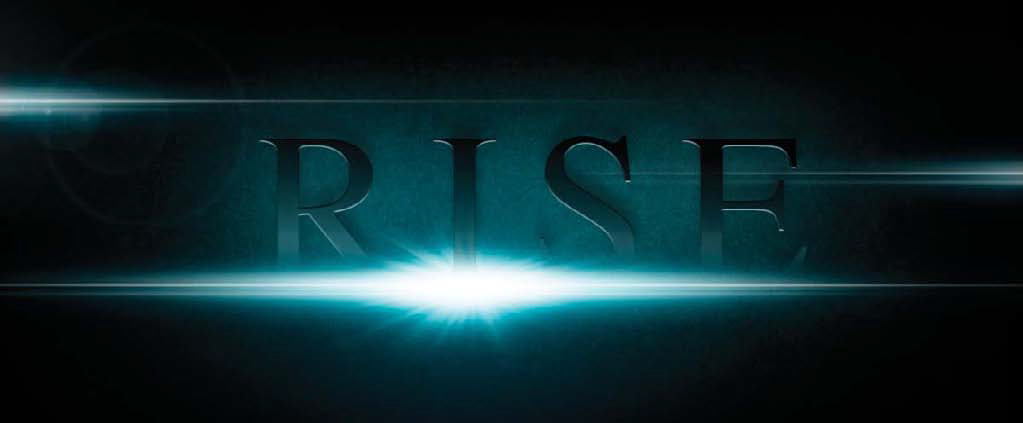
I actually like to call this effect the “J.J. flare,” because no one in Hollywood goes crazier with optical flare than J.J. Abrams. Anyone who has seen his films knows exactly what I mean, although the reason he uses it is because it looks cool. Well, here I’m going to show you how to create a flare from scratch, and then define it as a brush to be used anytime you want. In fact, you’ll see me use this several times throughout in Photoshop section.
Step 1
Start by going under the File menu, choosing
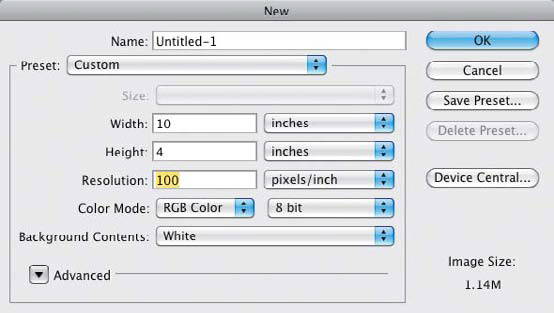
New, and creating a new blank document to create the brush on. It’s going to be a wide brush, so create a document that is 10 inches wide by 4 inches tall at 100 ppi.
Step 2
Next, select the Brush tool
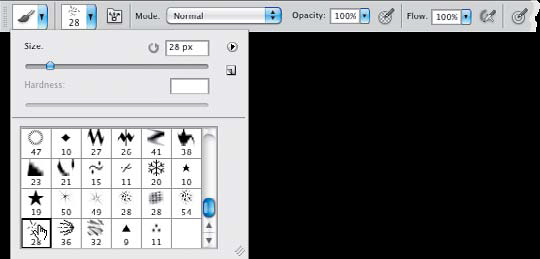
(B) from the Toolbox and then click on the brush thumbnail in the Options Bar to open the Brush Picker. Then, click on the right-facing arrow in the upperright corner and, from the fly out menu, choose the
Assorted Brushes preset. You can choose to append it to the existing list or replace the existing list altogether. I chose to append it. Locate the brush called Tex ture 4, which looks like a cluster of little lines. Select it, then open the Brush panel by clicking on the small folder icon to the right of the brush thumb nail in the Options Bar.
Step 3
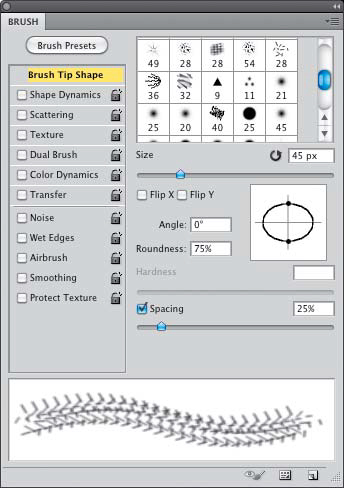
Click on Brush Tip Shape on the left side of the panel, and set the Size to around 45 px. Then, for Roundness, type in 75%. This will squash the brush down a little bit.
Step 4
Press
D to set your Foreground and Background colors to their defaults of black and white, then press
Option-Delete (PC: Alt-Backspace) to fill the Background layer with black. Now, press
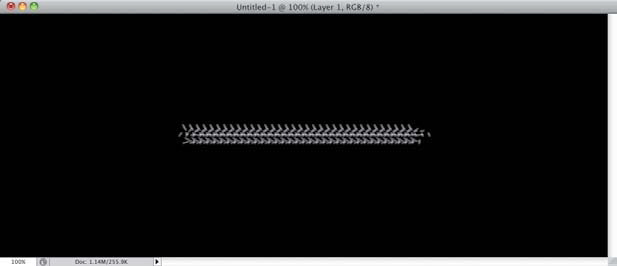
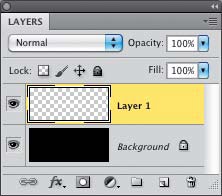
X to switch your Foreground color to white. Click on the Create a New Layer icon at the bottom of the Layers panel to create a new blank layer. Then, press-and-hold the Shift key and click-and-drag to paint a short horizontal stroke in the middle of the canvas, as seen here.
Step 5
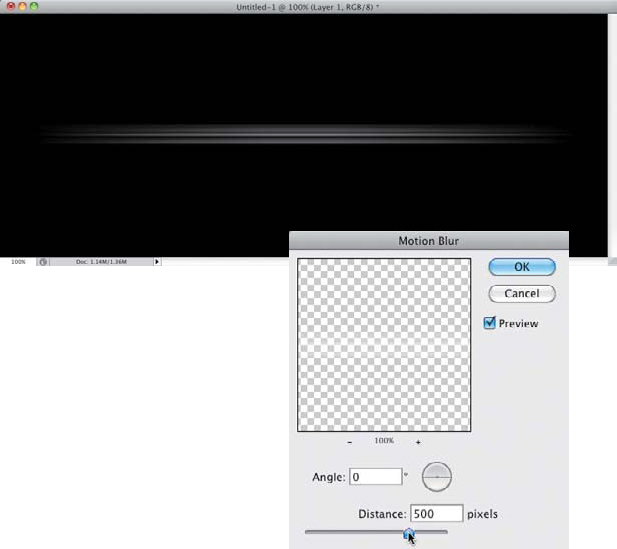
Now, go under the Filter menu, under Blur, and choose
Motion Blur. Set the Angle to 0º and the Distance to 500 pixels. This will give you a nice horizontal streak effect. Click OK.
Step 6
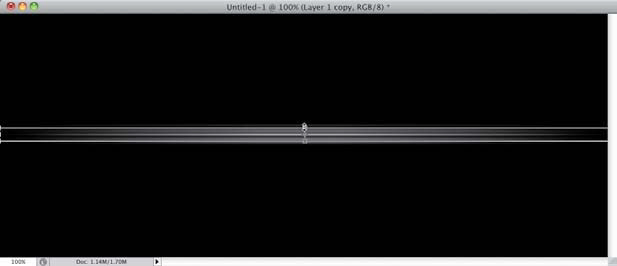
Make a duplicate of this layer by pressing
Command-J (PC: Ctrl-J). Now to stretch it a bit further, put the shape in Free Transform mode by pressing
Command-T (PC: Ctrl-T), then press-and-hold the Option (PC: Alt) key to anchor the transformation to the center, grab any of the corner handles, and squash the flare down and stretch it to near the edges of the canvas. Press
Return (PC: Enter) when you’re done to commit the change.
Step 7
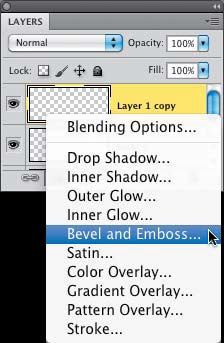
To enhance the glare on this part of the flare, we are going to add a Bevel and Emboss layer style. That’s right: Bevel and Emboss. I have discovered over the years that by playing around with the various layer styles, you can achieve some interesting effects in ways that these features weren’t necessarily designed for. For instance, here I want to generate a more stylized glow on the streak. So, with the duplicate layer selected, click on the Add a Layer Style icon at the bottom of the Layers panel and choose
Bevel and Emboss from the pop-up menu.
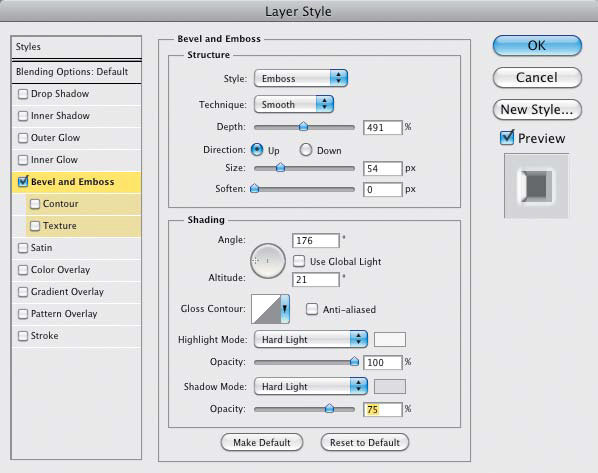
In the Layer Style dialog’s Bevel and Emboss options, in the Structure section, set the Style to
Emboss and increase the Depth to around 490%. Keep the Direction set to Up and increase the Size to around 54 px. At the top of the Shading section, set the Angle to 176° and the Altitude to 21º (you can also just grab the small target inside the circle and move it around to change the angle of the effect). Then, go to Highlight Mode, set it to
Hard Light, and leave the color set to white. Increase the Opacity to 100%. Then, for Shadow Mode, also choose
Hard Light, but then click on the color swatch, and choose a really light gray color (but not white). Leave the Opacity at 75% and click OK when you’re done.
Step 8
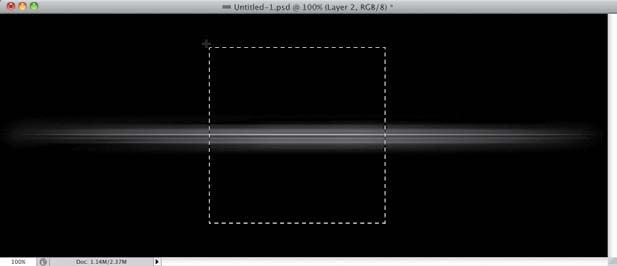
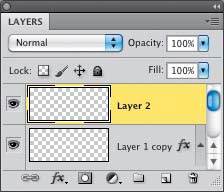
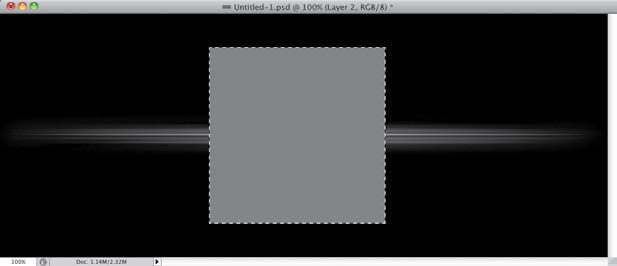
Now, let’s move on to the next part of the flare. We need to create a point of origin for the light itself, with intense light beams. So, start by creating a new blank layer, then get the Rectangular Marquee tool
(M). We need to create a perfect square in the middle of the streak, so press-and-hold Option-Shift (PC: Alt-Shift), click in the center area of the streak, and drag a square selection out from the center, stopping just short of the edges of the canvas.
Step 9
Press
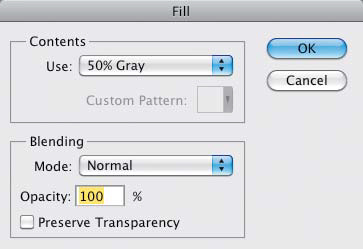
Shift-Delete (PC: Shift-Backspace) to open the Fill dialog. Then, choose
50% Gray from the Use pop-up menu and click OK.
Step 10
Press
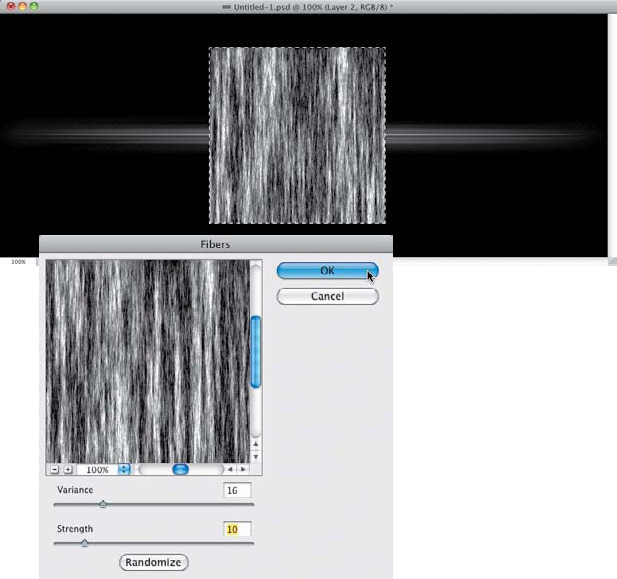
D to set your Foreground and Background colors to their defaults of black and white. Then, go under the Filter menu, under Render, and choose
Fibers. Set the Variance to 16 and the Strength to 10. Click OK.
Step 11
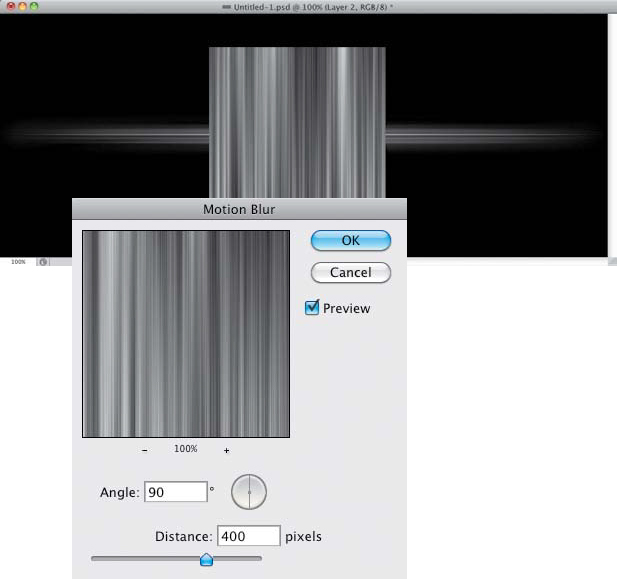
We need to run a motion blur on this, but I’ve noticed that the blur is applied more smoothly and evenly by locking the transparency of the layer, rather than using a selection. So, deselect by pressing
Command-D (PC: Ctrl-D), then click on the Lock Transparent Pixels icon near the top of the Layers panel. Now, go to the Filter menu, once again, under Blur, and choose
Motion Blur. Set the Angle to 90º and the Distance to 400 pixels to give the flare a streakier look.
Step 12
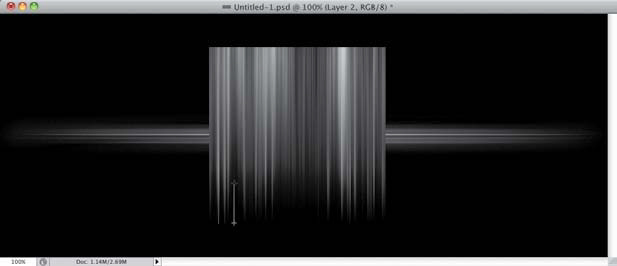
Now we need the streaks to fade to black at the bottom. We’ll do this using a gradient, but in a slightly different way than you might be used to. Get the Gradient tool
(G) from the Toolbox, then click on the down-facing arrow next to the gradient thumbnail in the Options Bar to open the Gradient Pick er, and choose the Foreground to Trans parent gradient (the second one in the top row). Also, make sure the Linear Gradient icon to the right of the gradient thumbnail is selected. Lastly, change the Gradient tool’s blend Mode to
Overlay.

Step 13
Make sure your Foreground color is set to black and, starting at the bottom of the square shape, press-and-hold the Shift key, and click-and-drag up almost to the top edge of the square. Notice that some streaks remained more prominent than others. This randomness is due to the Overlay blend mode, which affects the varying gray tones differently, resulting in streaks of more random lengths, as opposed to what you would get just using a plain black gradient. Simply apply the gradient one or two more times (dragging a shorter distance) to take care of any other streaks that might be still going to the edge (as shown here).
Step 14
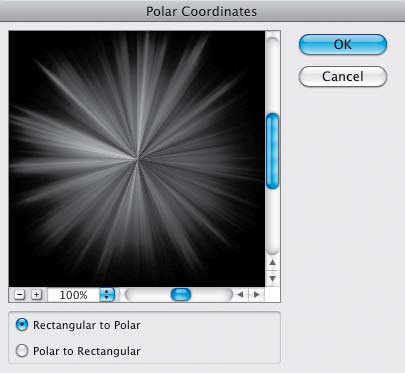
Reload the shape as an active selection by pressing-and-holding the Command (PC: Ctrl) key and clicking on the layer’s thumbnail in the Layers panel. Then, go under the Filter menu, under Distort, and choose
Polar Coordinates. Choose Rectangular to Polar. This will wrap the streaks around a center point, giving the effect of a light burst. Click OK, then deselect.
Step 15
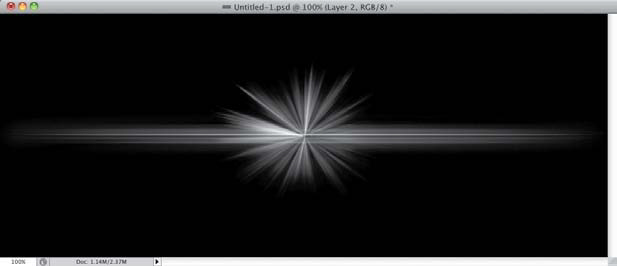
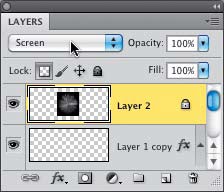
Now, to blend the burst with the streaks we already created, change the burst layer’s blend mode to
Screen. Then you can adjust the positioning, if necessary.
Step 16
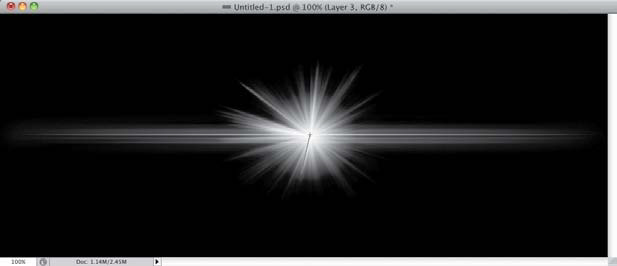
The flare is really taking shape, but it needs to be a bit brighter in the center area. Go ahead and create a new blank layer and, with the Gradient tool still selected, keep the Foreground to Transparent gradient, but change the gradient type to Radial (the second icon from the left) and change the blend Mode back to
Normal. Press
X to swap your Foreground and Background colors, making white your Foreground color. Start at the center of the burst and draw a small white radial gradient.
Step 17
Then, press
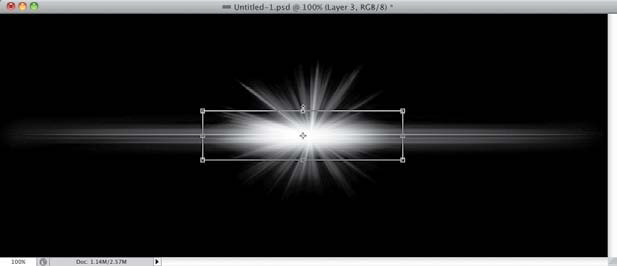
Command-T (PC: Ctrl-T) to go into Free Transform, grab any control handle, and scale the gradient so that it is less circular and more oval by scaling more horizontally than vertically. When you’re done, press
Return (PC: Enter).
Step 18
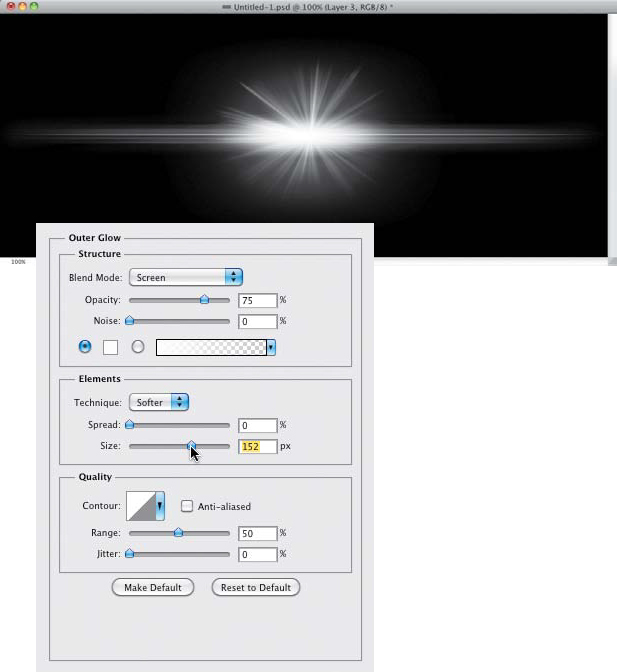
Next, click on the Add a Layer Style icon and choose
Outer Glow. In the Structure section near the top of the Layer Style dialog, click on the color swatch and change the color to white. Then, in the Elements section, increase the Size to around 150 px. This will add an enhanced ambient glow to this element. Click OK.
Step 19
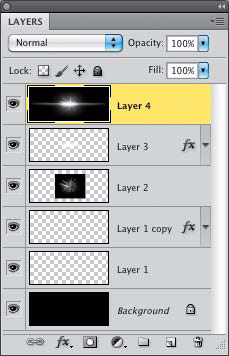
Now we are ready to make the brush. When defining a brush in Photoshop, the darkest areas of the image will be the most opaque areas of the brush. Up until now, we have been building this graphic on a black background for the sake of visibility and it’s how a flare would look, but now we need to invert these values to create the brush. So, start by selecting the topmost layer in the Layers panel, then press
Command-Option-Shift-E (PC: Ctrl-Alt-Shift-E). This will create a merged version of all your layers (the overall flare) on a new layer at the top of the layer stack.
Step 20
Go under the Image menu, under Adjustments, and choose
Invert (or press
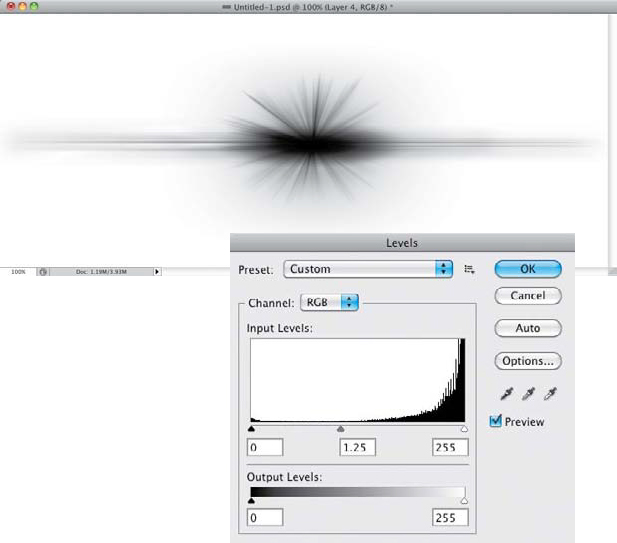
Command-I [PC: Ctrl-I]). This will make the flare black and the background white. Once the image is inverted, you may notice some areas that are a little gray and need adjusting. Simply apply a Levels adjustment (press
Command-L [PC: Ctrl-L]) to increase the contrast a little bit. Now we are ready to define the brush.
Step 21
Go under the Edit menu and choose
Define Brush Preset. You don’t need to select the flare first, as Photoshop will automatically ignore all the white areas, leaving only the black area in the shape of the flare. Just give the brush a name and there you have it. You can access the brush from the Brush Picker and use the Brush panel to modify its appearance. As you will see, this brush can have many uses. Have fun!

Final Image

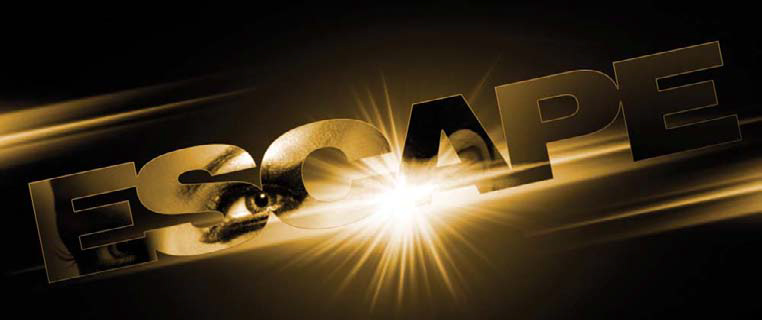
Here, you can see some different uses for the flare brush. Remember, you can add to and modify the layer style to get a different color. Once the flare is on a layer, you can scale and rotate it with Free Transform, like any other graphic element.


 Permalinks are the permanent links of a post page. In Blogger it automatically generates a permalinks based on the title of you give to the post. Permalinks provides information to the viewer about the content being pointed to.
 Facebook like button is very important for your blog, the reason is that the visitor can easily like it if you have a great content and the second thing is that it plays very important role in building traffic. Below is a step-by-step tutorial on how to add facebook like button on your blogger blog.


